You've got client data in Airtable, and you need to share it with clients, vendors, or partners without giving them access to your entire base. Maybe you're manually sending spreadsheet exports, fielding constant email requests for updates, or worrying about what happens when someone downloads sensitive data they shouldn't have access to. Airtable's portal feature exists, but the pricing structure makes you pause: the free plan caps out quickly, and the features you actually need, custom domains, advanced permissions, and external user access, sit behind the Business or Enterprise tiers, which are priced per seat. You want a client portal that looks professional, controls exactly what each user sees, and doesn't force you to pay enterprise rates just to share filtered views of your data.
TLDR:
- Airtable's native portal features require Team, Business, or Enterprise plans for full access.
- You can build portals in Interface Designer using role-based permissions and filtered views.
- Paid plans cap at 50,000 records per base, limiting scalability for high-volume use cases.
- Common use cases include client portals, vendor management, and internal team tools.
- Stacker connects directly to Airtable bases and builds fully permissioned client portals with custom domains.
What Is an Airtable Portal?
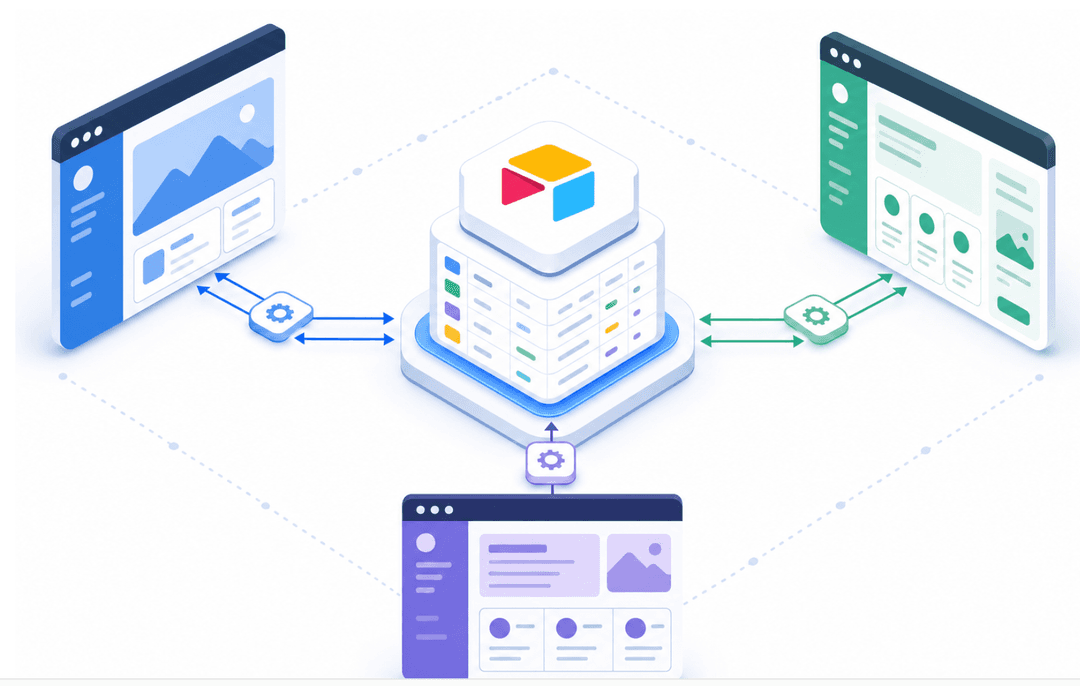
An Airtable portal is a shared, external-facing view of your Airtable data that lets people outside your team, like clients, vendors, or partners, see and interact with specific records without needing a full Airtable account. It functions as a client portal built directly on your Airtable base.
Think of it as a filtered window into your database. You control what each user sees, what they can edit, and how the information is organized.
Airtable released its Portals feature in beta in 2024, giving teams a native way to build these external views directly inside Airtable. Before that, most teams had to rely on third-party tools or workarounds to securely share data with external parties.
Setting Up Your First Airtable Portal
Airtable's portal feature lives inside its Interface Designer, which lets you build views of your base data that external users can access through a shareable link. Here's how to get one running.
Create your first interface
Open your base, click the "Interfaces" tab at the top, then select "New interface." Airtable will walk you through a template picker. For a client-facing portal, the "Record review" or "Form" templates are good starting points.
Control what data your users see
Once inside the interface editor, you can:
- Filter records so each user only sees rows relevant to them, not your entire dataset.
- Hide sensitive fields, such as internal notes or cost columns, before sharing.
- Set the interface to read-only or allow specific users to submit edits.
Share your portal
Hit "Share" in the top-right corner. You can share via a public link or invite specific email accounts. Restricting access by email is worth doing for any portal that contains client or vendor data.
Keep in mind that the depth of access controls you get depends on your Airtable plan:
- The free tier limits the number of interface editors.
- Features like custom branding or a custom domain require a paid upgrade.
Airtable Portal Pricing and Plan Requirements
Airtable's portal features are not available on all plans, and the pricing structure has changed enough over the years that it's worth knowing exactly where things stand before you commit.
As of mid-2026, Airtable's free plan supports up to 5 editors and 1,000 records per base, but portal access is tied to higher tiers. The Team plan is priced at $20 per seat per month, billed annually ($24 billed monthly), per Airtable's published pricing page, while Business runs $45 per seat per month, billed annually, and Enterprise Scale uses custom pricing.
For nonprofits, Airtable offers a 50% discount on the Team plan through an application process, bringing the price to $12 per user per month (based on the standard $24 monthly rate).
A few things to keep in mind:
- Portal features like custom domains and advanced sharing controls are generally reserved for Business or Enterprise tiers, meaning smaller teams on free or Team plans get a more limited experience.
- Enterprise pricing is not publicly listed and requires contacting Airtable's sales team directly, which can slow down your evaluation process.
- As your team grows, per-seat pricing can add up quickly, especially when external collaborators or clients need portal access.
This pricing structure is a common reason teams look for other solutions. If you need a client portal with custom branding, role-based permissions, and more flexible user access without paying enterprise rates, tools like Stacker are worth a close look.
Configuring Permissions and User Access Controls
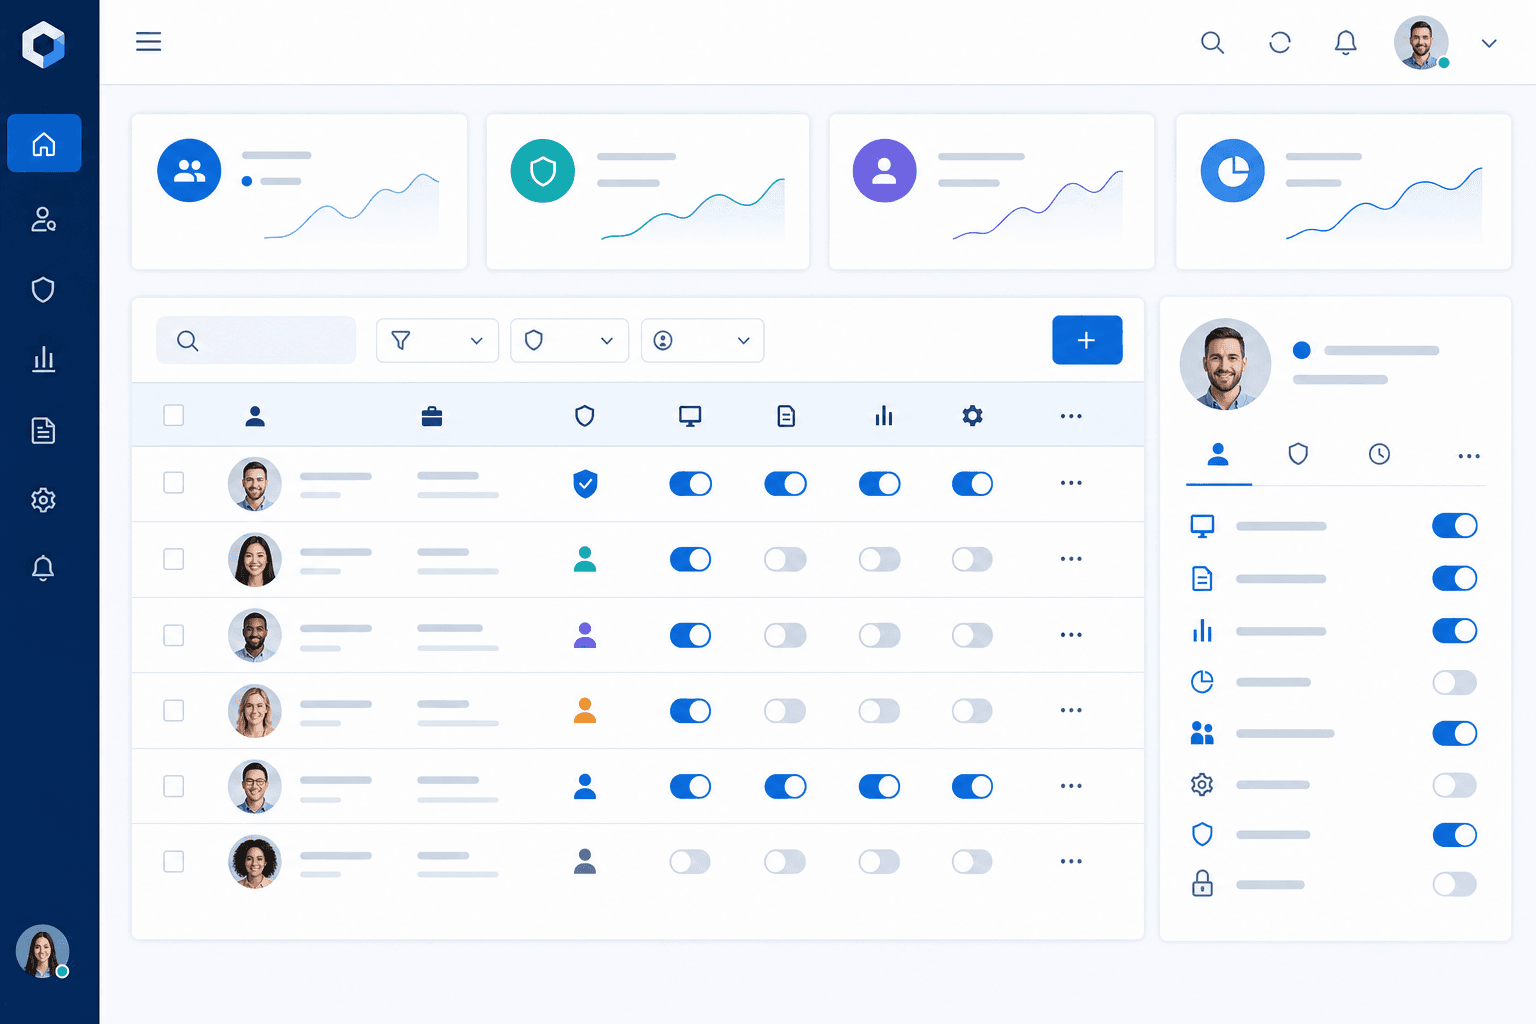
Once your Airtable portal is live, you need to control exactly who sees what. Airtable lets you assign roles at both the workspace and base levels, including Owner, Creator, Editor, Commenter, and Viewer. Each role carries different read and write privileges, so you can give clients view-only access while keeping your team's editing rights intact.
Here is how each role maps to common portal scenarios:
- Owner and Creator: reserved for your internal team. These roles can modify the base structure, add fields, and change automations. Never assign these to external users.
- Editor: can add, edit, and delete records. Use this for trusted partners or vendors who need to submit or update their own data, such as filling in invoice details or updating contact information.
- Commenter: can view records and leave comments, but cannot change data. Good for clients who need to give feedback on deliverables without editing the underlying records.
- Viewer read-only access: The safest option for most client-facing portals where you want clients to see project status or reports without any risk of accidental edits.
Inviting External Users
To add a client or vendor to your portal, go to the base's share settings and invite them by email. Airtable sends them a link to create a free account or log in. Once they accept, their access is scoped to the role and interface you assigned, and they do not see the rest of your workspace or any other bases unless you explicitly invite them there.
If you want to share with a large group without managing individual invites, you can generate a shared link tied to a specific interface. Set the link to require sign-in so only people with the link and a verified email can view it. This works well for intake forms or read-only status dashboards where a fixed invite list would be impractical.
Setting Field and Table Visibility
Beyond role assignments, you can hide specific fields or entire tables from certain users. This is useful when a single base holds internal cost data alongside client-facing project updates.
- Hide sensitive fields, such as budget columns or internal notes, directly in the view settings, then share the restricted view with external users.
- Use an interface designer to build a curated experience that lets users interact only with the records and fields relevant to them.
- Limit who can add or delete records by setting granular permissions at the table level under the base's permission settings menu.
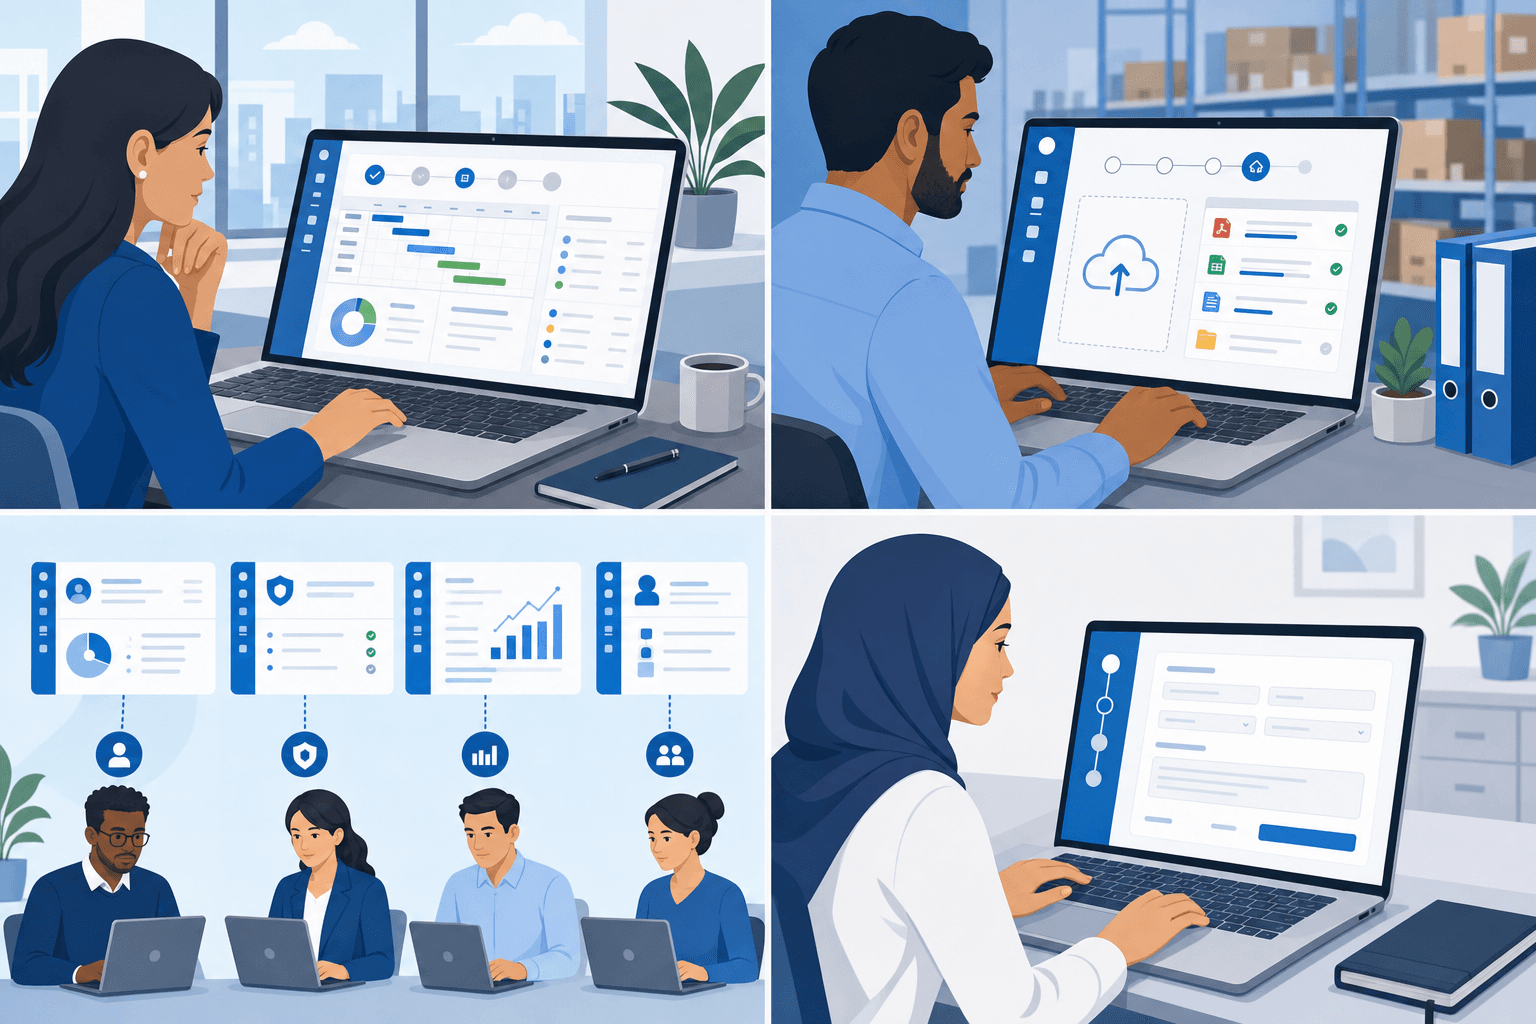
Common Use Cases for Airtable Portals
Airtable portals work well across a range of business scenarios, and knowing where they fit helps you decide how to set yours up.
Client portals
Give clients a dedicated view of their project status, submitted files, or deliverables without sharing your full Airtable base using client portal software. Clients see only what's relevant to them, and you control exactly which fields and records are visible.
Vendor and partner portals
Let suppliers or partners submit invoices, update their contact details, or check order status through a shared customer portal interface. This reduces email back-and-forth and keeps records up to date in one place.
Internal team portals
Surface role-specific data for employees, such as HR request tracking, IT ticketing, or operations dashboards, without giving everyone full database access.
Application and intake forms
Collect structured data from job applicants, grant seekers, or new client onboarding through a portal that feeds directly into your Airtable base, keeping submissions organized from the start.
Working with Airtable's 50,000 Record Limit
Airtable's free plan caps records per base at 1,000, down from 1,200 as of February 2026, when the company reduced the limit with no advance notice. Paid plans also have per-base record limits that vary by tier.
For many teams, that ceiling arrives faster than expected, especially if you're logging transactions, support tickets, or inventory updates daily.
When you hit the limit, you can either archive old records manually, upgrade to a higher tier, or split data across multiple bases. Splitting bases works around the cap but creates its own headaches: formulas stop working across bases, and your portal views get fragmented.
If your data needs genuinely exceed 50,000 records, this is worth factoring into your total cost before committing to Airtable's paid tiers.
Third-Party Portal Builders for Airtable
If Airtable's native portal tools feel limited for your use case, several third-party portal builders can connect directly to your Airtable data and give you more control over what external users see and do.
| Tool | Best Suited For | Key Capability |
|---|---|---|
| Airtable Native Portals | Basic data sharing with external users through filtered views | Built directly into Interface Designer with role-based permissions and filtered record views |
| Stacker | Fully permissioned web apps and client portals with custom branding | Role-based access controls with custom domains and forms that write data back to Airtable in real time |
| Softr | Teams that need to launch web apps and portals quickly | Pre-built templates and drag-and-drop editor for faster deployment |
| Noloco | Ops teams need internal tools with relational data across multiple linked tables | Conditional visibility rules and relational data display across linked tables |
Stacker
Stacker connects to your Airtable base and turns it into a fully permissioned web app or client portal without writing any code. You can control exactly which records each user sees, set up role-based access so different people get different views, and build forms that write data back to Airtable in real time. It works well for teams that need a polished, branded experience for clients, vendors, or partners instead of just a shared view of a spreadsheet.
Softr
Softr builds web apps and portals on top of Airtable and is a good fit for teams that want to get something live quickly. It offers pre-built templates and a drag-and-drop editor, though deeper permission logic and custom branding tend to require higher-tier plans.
Noloco
Noloco lets you build internal tools and client-facing portals from your Airtable data. It suits ops teams that need relational data displayed across multiple linked tables, and its conditional visibility rules give you decent control over what different user roles can access.
Each of these tools handles different levels of complexity, so the right choice depends on how much customization your portal actually needs.
Migrating from Airtable Interfaces to a Dedicated Portal
If you've been using Airtable Interfaces to share data with clients or external users, you've likely run into the ceiling: limited customization, no custom domain, and a login experience that feels more internal than client-facing.
The good news is that migrating to a dedicated portal doesn't require rebuilding your data from scratch. Your Airtable base stays exactly where it is.
Here's what the migration process generally looks like:
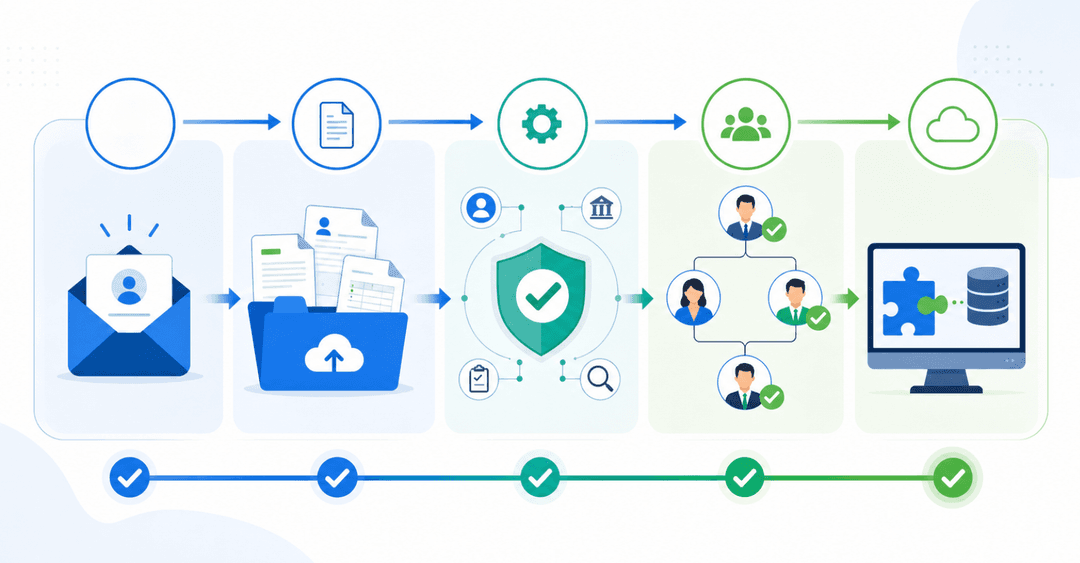
- Connect your existing Airtable base to your portal tool of choice using the native Airtable integration, which reads your tables, fields, and records directly.
- Map your existing views to portal pages, replacing Interface layouts with purpose-built portal screens you can visually control.
- Set up role-based permissions so different users see only the records and fields relevant to them, instead of the full base.
- Configure your custom domain so clients land on a branded URL instead of an Airtable subdomain.
- Test with a small group before opening access broadly, checking that filters, permissions, and record-level access all behave as expected.
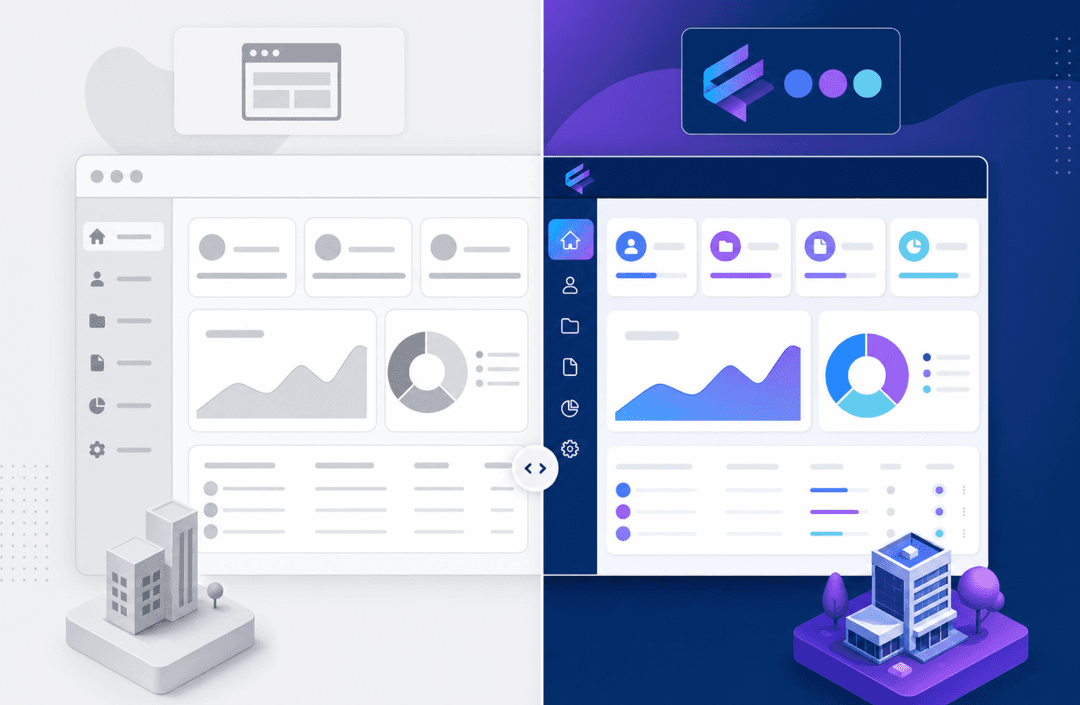
The biggest practical difference you'll notice is control over the end-user experience. A dedicated portal lets you decide exactly what clients see, how they interact with records, and what actions they can take, without exposing the underlying database structure. You get a fully branded experience instead of a shared view of your base.
Building an AI-Powered Portal on Airtable Data with Stacker
If your data already lives in Airtable, you can connect it to Stacker and build a fully permissioned client or customer portal on top of it without migrating anything.
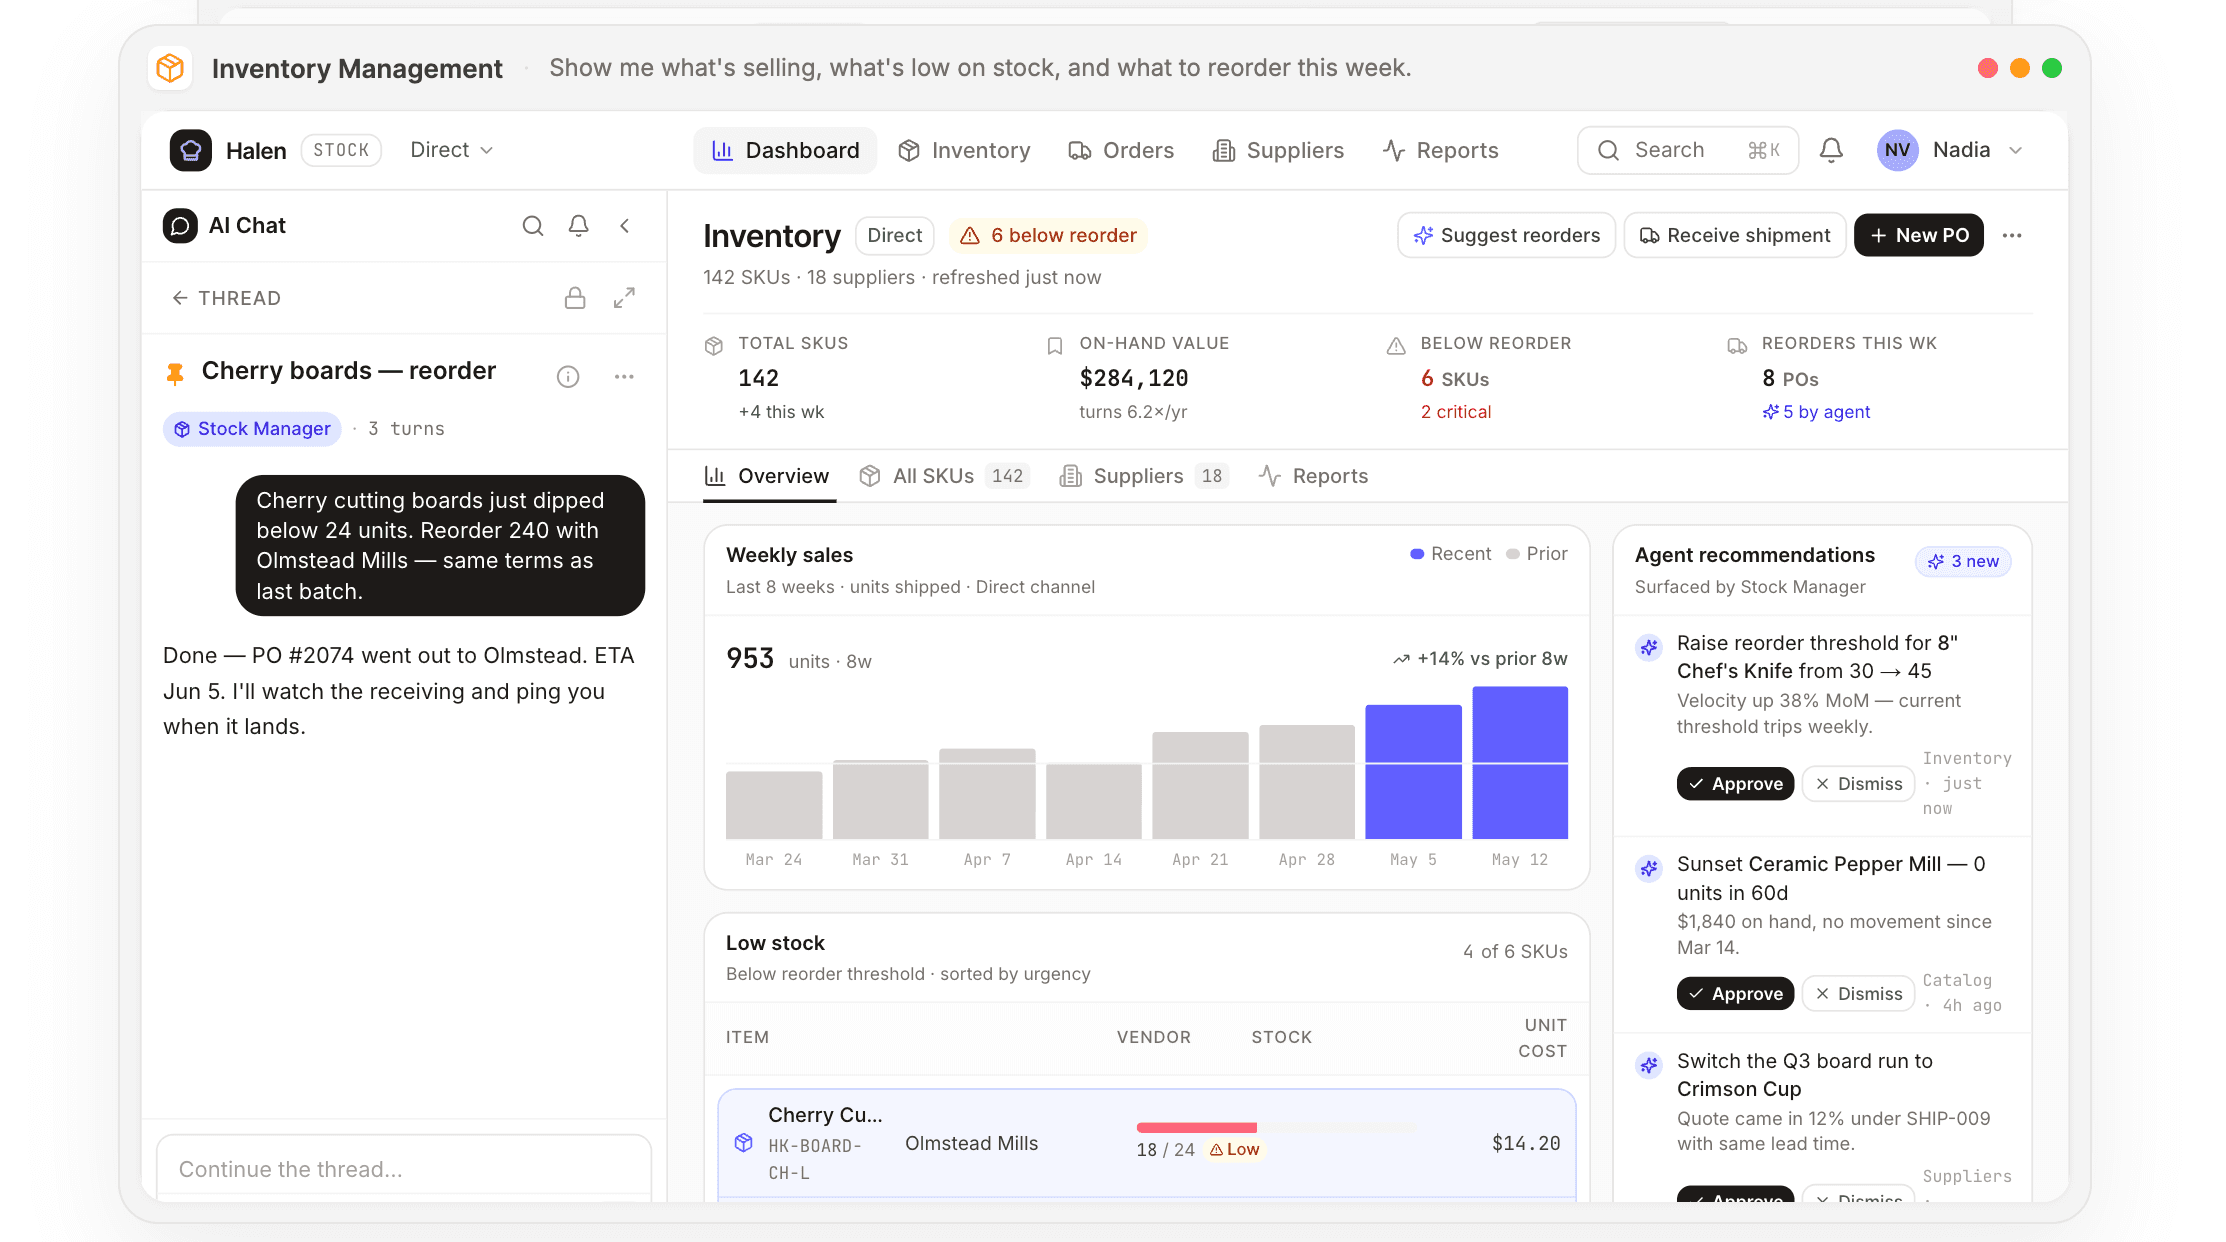
Stacker reads your Airtable bases directly and lets you decide what each user type can see, edit, or submit. You can configure it so a client logs in and sees only their own records, a vendor fills out a form that writes back to your base, and an internal ops team member gets a filtered view of everything assigned to them.
Where Airtable's native portals cap out on customization and require higher-tier plans, Stacker gives you role-based access, custom branding, and a custom domain on a pricing structure built for external-user portals from the start.
Final Thoughts on Choosing the Right Portal Solution for Your Airtable Data
The right portal setup depends on how much control you need over what external users see, how they interact with your data, and what you're willing to pay as your team or client base grows. Airtable's built-in portals handle basic sharing, but dedicated tools like Stacker provide the permissions, branding, and user experience that higher-stakes client or vendor portals often require. If you want to see how a dedicated portal connects to your Airtable base, you can book a demo and walk through your specific use case. Either way, your data stays exactly where it is.
FAQ
Airtable portal vs Stacker for client portals?
Stacker connects to your existing Airtable base and gives you full control over branding, role-based permissions, and custom domains from the start. Airtable's native portals require higher-tier plans for those features and offer less customization over the end-user experience.
Can I build an Airtable client portal without upgrading to Enterprise?
Yes, but you'll hit limits on custom branding and advanced sharing controls with lower Airtable plans. Third-party portal builders like Stacker, Softr, or Noloco connect to your Airtable data and provide those features without requiring an Airtable Enterprise subscription.
What happens when you hit Airtable's 50,000 record limit?
You'll need to manually archive old records, upgrade to a higher tier, or split your data across multiple bases. Splitting bases breaks formulas and fragments your portal views, creating maintenance overhead and making reporting harder.
How do Airtable portal permissions actually work?
Airtable assigns roles at the workspace and base level (Owner, Creator, Editor, Commenter, Viewer), and you can hide specific fields or tables from certain users. You control who sees what by building filtered views in the Interface Designer and sharing them with external users.
Should I migrate from Airtable Interfaces to a dedicated portal tool?
If you need custom branding, a custom domain, or more control over the client login experience, a dedicated portal tool is worth it. Your Airtable base stays where it is; you just connect it to the portal tool, which reads your data and gives you better control over what external users see and do.: