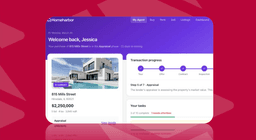
You're spending more time answering "Where's that file?" messages than actually doing the work. A Notion client portal can solve that by creating a single place where clients log in, see their projects, and grab what they need without waiting on you. Notion's appeal is clear: it's free to start, flexible enough to customize, and many people already know how to use it. The catch is that it shows up when you try to lock down permissions, scale past a handful of clients, or add features like billing and status notifications that purpose-built portals include by default.
TLDR:
- Notion client portals work for small rosters but lack row-level permissions and native login screens.
- You need five databases: Projects, Events & Updates, Requests, Contacts, and Resources with filtered views.
- Notion's free plan caps you at 10 guests; past that, duplicating pages for each client becomes tedious.
- The gaps show at scale: no automated client isolation, no billing tools, and manual updates across pages.
- Stacker connects to your existing data and provides clients with secure logins and row-level access control.
What Is a Notion Client Portal (And Why Build One)
A Notion client portal is a shared workspace where clients can log in to view project updates, access deliverables, track timelines, and find the information they need without pinging you over email. Designers, coaches, consultants, and agencies all use them to give clients a single place to stay in the loop.
The appeal is real. Notion is flexible, familiar to many people, and free to start. If you already live in Notion, building a client-facing space there feels natural.
Here is the honest version, though: Notion was built as a productivity tool, and client portals are something people have adapted it for. That distinction matters because the gaps start showing up the moment you need login-protected views, per-client permissions, or anything that looks polished on a mobile screen. You can make it work, but it takes some creative workarounds.
Core Components Every Notion Client Portal Needs
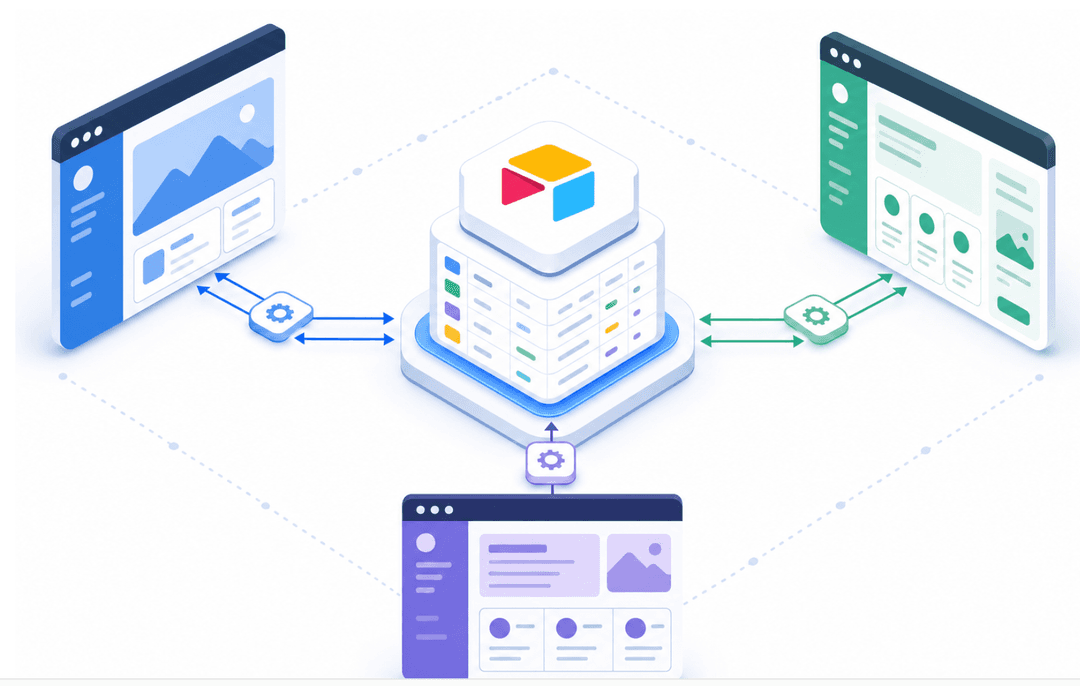
A well-built Notion client portal runs on two layers. The first is a data page: a backend where your master databases live. Clients rarely land here. The second is a homepage dashboard that pulls from those databases through filtered, linked views, giving clients a clean window into only what's relevant to them.
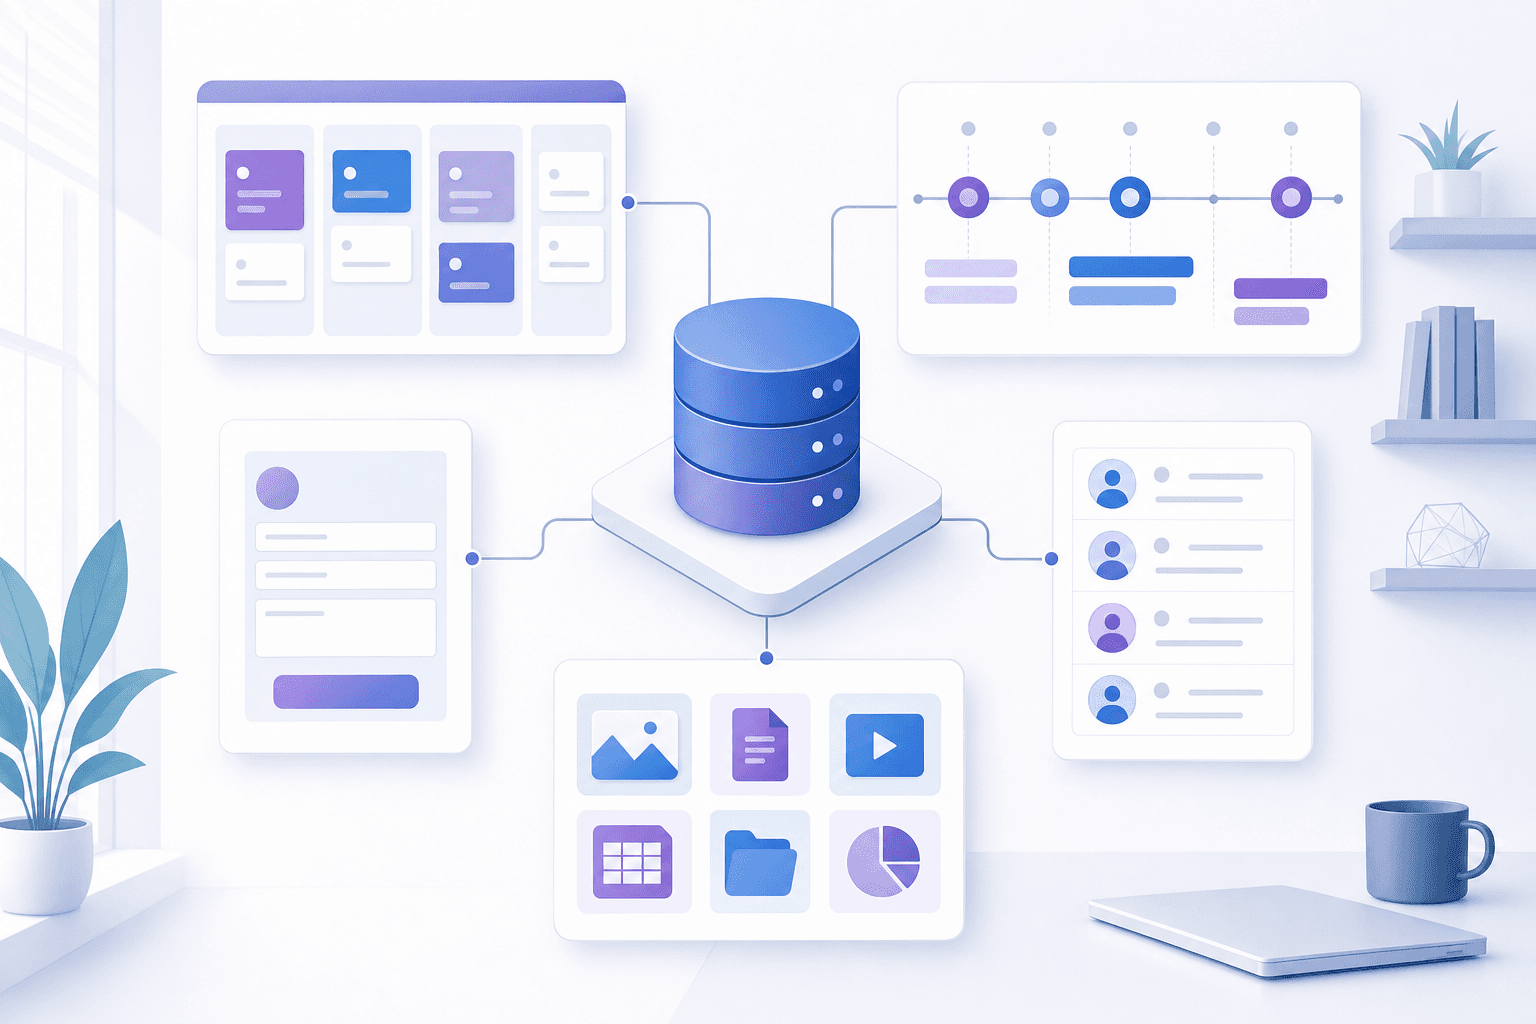
The five databases that hold everything together:
- Projects: tracks active work, statuses, deadlines, and deliverables. This is the core of most portals.
- Events & Updates: a running log of milestones and progress notes clients can check anytime without asking you.
- Requests: a structured intake for client questions, feedback, or new asks, so nothing gets lost in email.
- Contacts: stores client information and links records across the other databases to keep everything connected.
- Resources: a library of files, documents, and reference materials clients can access on demand.
Every database feeds into the homepage through filtered views, making the overall structure much simpler to manage. The result is a dashboard that feels relevant to each client, not a raw export of everything in your workspace. For a closer look at the setup process, read the guide on building a client portal with no-code.
Step by Step: Building Your First Notion Client Portal
Notion's flexibility makes it a strong starting point for client portals, but the setup process involves more than just dropping a template into a workspace. Here's how to get a working portal off the ground.
Set Up Your Workspace Structure
Create a dedicated Notion workspace or top-level page for client work. Inside, build a database for each core function you need: projects, deliverables, invoices, and shared documents. Keeping these as linked databases lets you surface the right views for each client without duplicating data. If Notion doesn't feel like the right fit, there are other client portal software options worth comparing.
Configure Sharing and Access
Go to the Share menu on any page and invite clients via email. Set permissions carefully, since Notion's access controls are fairly blunt at the free tier, which means guests can sometimes see more than intended. For tighter access control, you'll need a paid plan.
Build a Client-Facing Dashboard
Create a single landing page per client that pulls in filtered views from your databases. This becomes their home base. Pin the most relevant information up top: active projects, recent files, and any action items waiting on them.
Add a Template for Repeatability
Once your first portal is working well, duplicate it and strip out client-specific content. Save this as your reusable starting point. Many freelancers share free Notion client portal templates on sites like Notion's own template gallery, which can accelerate your initial build.
Know Where Notion Stops
Notion doesn't support login-gated portals natively. Clients access pages through shared links or email invitations, which works for simple setups but can feel informal at scale. If security is a priority, a secure client portal tool is worth considering instead.
Sharing and Permission Settings That Actually Work
Notion's sharing settings are one of its trickier areas, especially once you're dealing with multiple clients who each need access to their own information and nothing else.
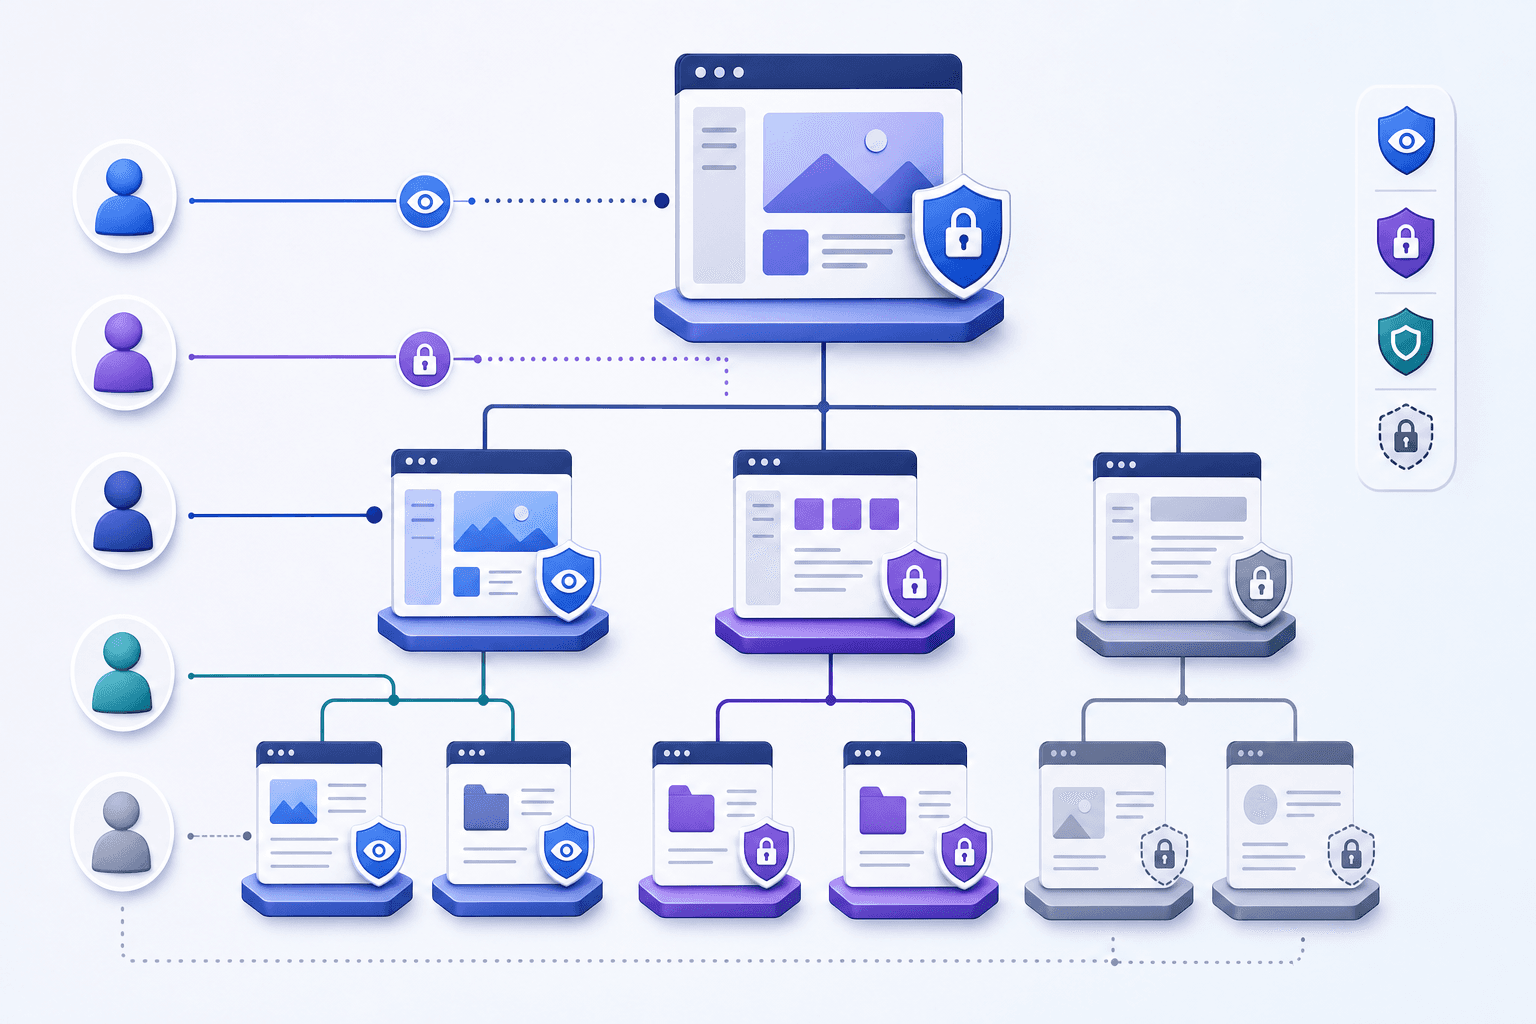
Here's how to set this up in a way that actually holds together:
- Share pages at the page level, not the workspace level. When you invite a guest to a specific page, they only see that page and its subpages. They cannot browse your sidebar or stumble into another client's work.
- Use "Can view" for most clients. Unless a client needs to fill out forms or leave comments, read-only access keeps things clean and prevents accidental edits.
- Duplicate your template for each new client. Each client gets their own standalone page, shared only with them. This is the closest Notion gets to true client isolation.
- Be careful with linked databases. If you pull a filtered view from a shared database into a client page, guests may still be able to access unfiltered data depending on your setup. Test this before going live.
Notion's free plan allows up to 10 guests. Paid plans remove that ceiling entirely — guests are free across all paid tiers. The cost to watch is per internal team member seat: a solo operator pays one seat cost, while a five-person agency pays five seat costs, regardless of how many clients they serve. For agencies with large rosters, that seat cost is worth factoring in before committing to Notion as your long-term client portal solution.
Three Different Setup Methods (And Which to Choose)
Three approaches work in practice, each suited to a different scale and setup preference.
| Method | How it works | Best for |
|---|---|---|
| One page per client | Duplicate a template page and share it individually via email invitation | Freelancers managing a small client roster within Notion's free guest limit |
| Centralized dashboard | Single workspace with filtered database views scoped to each client | Teams handling more clients who need one unified backend |
| Public portal | Share pages via public link with no login required | Quick-access resources like onboarding docs or FAQs |
The one-page method is the easiest starting point. It requires no complex database architecture, and each client only ever sees what you share with them directly. Past a handful of clients, though, duplicating and maintaining separate pages becomes tedious.
The centralized dashboard requires more upfront setup but pays off at scale. One backend, many filtered views. The public portal trades privacy for speed, which makes it fine for general reference content and a poor fit for anything project-specific or confidential.
Customizing Your Portal for Professional Client Experience
The portal is often the first thing a client opens after signing. It should feel like your business, not a default Notion page someone forgot to style.
A few quick wins:
- Add a custom cover image and icon to the top-level client page to make the space feel intentional from the first click.
- Use consistent icons across database entries so navigation feels intuitive instead of scattered.
- Place a simple header with your logo or business name so clients know where they are immediately.
- Pin a short checklist near the top that covers the active project, the latest update, next steps, and any open requests.
For recurring touchpoints such as meeting notes or weekly updates, create a page template in your Updates database. One click generates a consistently formatted entry every time. That consistency signals to clients that you've thought carefully about their experience, beyond just the deliverables.
The Real Limitations of Using Notion as a Client Portal
Notion's most fundamental gap is its lack of row-level permissions. When a client accesses a database view, there's no way to automatically restrict them to seeing only their own records. Every filter is manual, every view is a workaround, and one misconfigured setting can expose data meant for someone else entirely.
That absence of row-level control is what makes the duplicate-page model necessary in the first place. Each client needs their own copied page, their own filtered views, and their own carefully scoped sharing settings. When something changes upstream in your master database, you carry that change across every client page by hand. Nothing propagates automatically.
The missing features compound this. Purpose-built client portal software typically includes billing, eSignature workflows, automated status notifications, and branded login URLs as table stakes. Notion has none of these natively. Covering those gaps means adding third-party tools, which adds cost, maintenance, and new failure points to a setup that already requires substantial manual upkeep.
Notion is a great tool for managing your own work. It's a less natural fit for building something clients depend on, especially when their experience is shaped by workarounds you built around its limitations.
Scaling makes every gap more visible. Five clients in a Notion portal is manageable, if tedious. At twenty, maintaining separate pages per client starts consuming real time. The model was never designed to grow cleanly, and the economics don't improve as the client list grows. You spend more on guest seats while the experience stays roughly the same.
Pricing Considerations and Guest Limits
Notion's free plan caps guest access at 10 users across your entire workspace, not per page. For a freelancer with a small, stable roster, that limit often holds. Once you grow past it, upgrading becomes necessary.
Here's how the plans break down as of 2026:
- Free ($0): Up to 10 external guests, 5 MB file upload limit per file, and 7-day page history. Fine for solo freelancers with a handful of clients, but the guest ceiling is the binding constraint for portal use.
- Plus ($10/seat/month): Unlimited guests, unlimited file uploads, and 30-day page history. This is the first plan that removes the guest ceiling, but you pay per team member seat — not per client. One person running the workspace pays $10/month. A three-person agency pays $30/month, regardless of the number of clients.
- Business ($20/seat/month): Adds granular database permissions that let you limit a collaborator's access to only the rows they are assigned to. This is the closest Notion gets to row-level access control, and it only appears at this tier. For agencies with larger rosters and sensitive client data, this is the relevant plan—but at $20 per seat, it adds up quickly for larger teams.
- Enterprise (custom pricing): Adds SSO, audit logs, and advanced security controls. Relevant for larger organizations, but well beyond what most freelancers or small agencies need for a client portal.
The key cost dynamic to watch: guest access stays free across all paid plans, but every internal team member using the workspace is a paid seat. A solo operator pays one seat cost. A growing agency with five internal collaborators pays five seat costs — on top of whatever other tooling they need for billing, contracts, and notifications that Notion doesn't cover natively.
One thing worth keeping in mind as client relationships grow: guests access Notion through invitations or shared links, not a dedicated login screen. For occasional reference, that works fine, but clients checking in frequently on uploads or project progress may find it less intuitive than a purpose-built portal with a proper login flow.
When to Consider Alternatives to Notion for Client Portals
Notion works well at the start. The moment it begins to strain is predictable: your client list grows past a dozen, a client asks why there's no password login, or you need payments, contracts, and automated status updates handled in the same place. Those aren't unusual asks. They're what a growing service business naturally needs.
White-label branding is another common friction point. Notion pages live on Notion. So, while you can customize the look of a page, you can't give clients a login screen that carries your business name and domain.
Think of it as a maturity question. Notion may be the right starting point, but as client expectations rise and your roster grows, the workarounds start taking more time than the work itself. When that happens, a purpose-built solution isn't an upgrade for its own sake. It's a practical response to the operational demands of a growing client base.
Where Stacker fits in
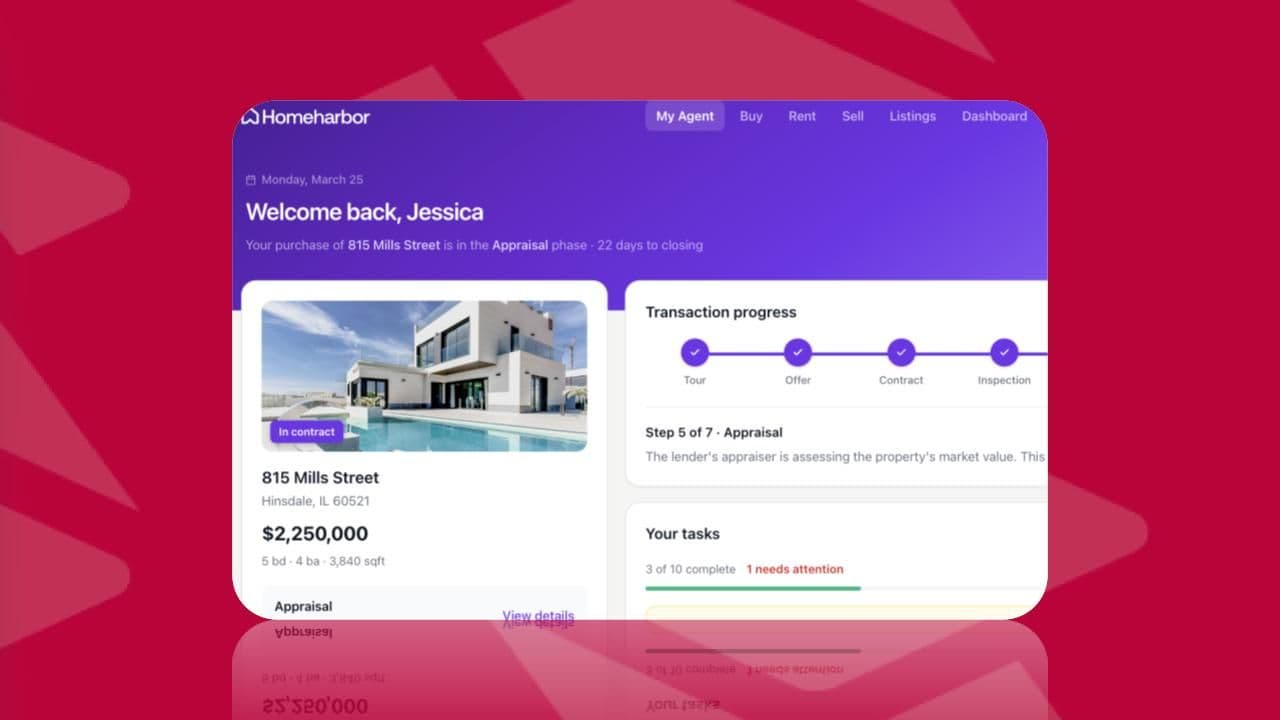
Stacker is built for this transition. It lets you build a client portal on top of your existing data in Airtable, Google Sheets, or another source. Compare no-code customer portal platforms to see your options. Each client gets a secure login, sees only their own data, and interacts with a portal that carries your branding on your own domain.
Beyond access control, Stacker supports relational data, custom workflows, and role-based permissions, so you can handle project updates, file sharing, and approvals all in one place. If your Notion setup has started to feel like a workaround, Stacker is worth a look.
Taking Your Client Portal Further with Stacker
Notion gets you surprisingly far for a free tool, but most freelancers and agencies eventually run into the same ceiling: clients need login-protected access, you need to collect structured data back from them, and the whole thing needs to behave less like a shared document and more like an actual client-facing product.
That's where Stacker comes in. Stacker lets you build a proper client portal on top of your existing data, whether that lives in Airtable, Google Sheets, or another source, without writing any code.
What Stacker Does Differently
Where Notion requires workarounds for logins and permissions, Stacker provides real user authentication out of the box. Wondering if no-code is good for client portals? Clients get their own secure login and only see the records that belong to them. You control exactly what they can view, edit, or submit.
You can build portals that let clients:
- Log in securely and see only their own projects, invoices, or deliverables
- Submit intake forms, feedback, or file requests directly into your database
- Track project status in real time without you sending manual updates
- Access documents or assets tied specifically to their account
Who It Works Well For
Stacker is a good fit for designers, coaches, agencies, and consultants who have outgrown shared Notion pages but aren't ready to commission a custom-built web app. If you're already managing client data in a spreadsheet or a tool like Airtable, Stacker connects directly to that source and turns it into a portal your clients can actually use.
The setup takes hours, not weeks, and you don't need a developer to get it live.
Final Thoughts on Client Portals in Notion
You can build a working client portal in Notion, but it's more adaptation than design. The gaps around permissions and logins are real, and they get harder to work around as your business grows. Start where it makes sense, but don't ignore the friction points. See how Stacker approaches this when you're past the workaround stage.
FAQ
How do I create a client portal in Notion?
Start by creating a top-level page for client work, then build separate databases for projects, deliverables, and shared documents. Duplicate this setup for each client, share their individual page via email invitation with "Can view" permissions, and add filtered database views so they only see their own information. Most freelancers can set this up in 2-3 hours using free Notion client portal templates as starting points.
Notion client portal vs Stacker for client management?
Notion works well for 5-10 clients but requires manual workarounds for permissions since it lacks row-level access controls—you'll duplicate pages for each client and maintain filtered views by hand. Stacker builds actual client portals with secure login, automatic per-client data filtering, and custom branding on your own domain, making it better suited once you're managing more clients or need features like intake forms and automated notifications.
Can I build a client portal in Notion for free?
Yes, Notion's free plan supports up to 10 guest users, which covers most freelancers starting out. You'll create separate pages per client and share them individually to stay within the limit. Once you exceed 10 clients, you'll need to upgrade to a paid Notion plan, though guest access itself remains free.
What are the biggest limitations of using Notion as a client portal?
Notion lacks row-level permissions, meaning you can't automatically restrict clients to seeing only their own records in a shared database—every client needs a manually duplicated page with hand-configured filters. It also lacks a native login screen, billing tools, eSignature workflows, and white-label branding, and scaling past 20 clients makes page maintenance a significant time drain.
When should I move from Notion to a dedicated client portal tool?
If you're managing more than a dozen clients, spending considerable time manually updating duplicate pages, or hearing requests for password-protected login screens and automated project notifications, that's the signal.