Creating agents
Agents live inside your app. Open the Agents section from the app sidebar, create an agent, then shape how it thinks, what it can do, and where it runs.
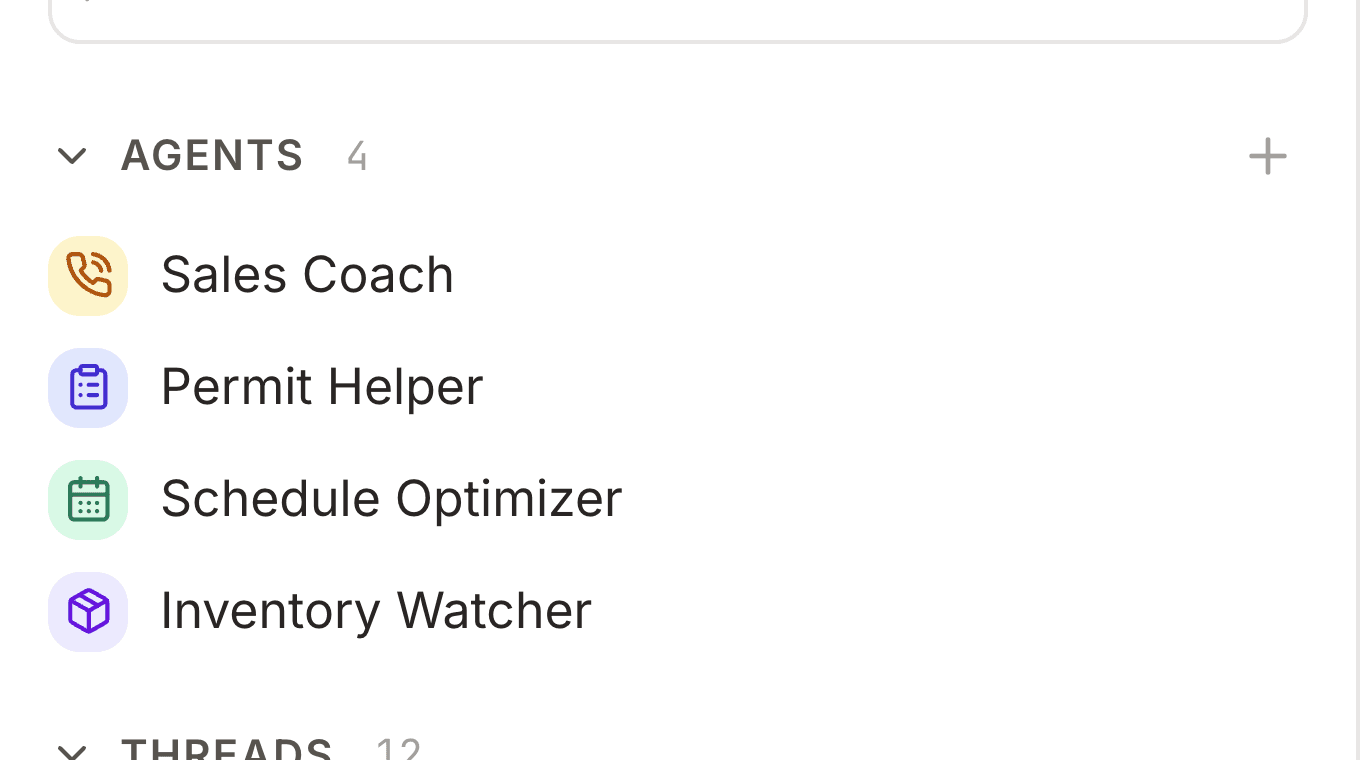
Finding the Agents library
Open your app and go to Agents in the sidebar — a library of every agent in the app. Click an agent to open its settings, or use New agent to start from scratch.
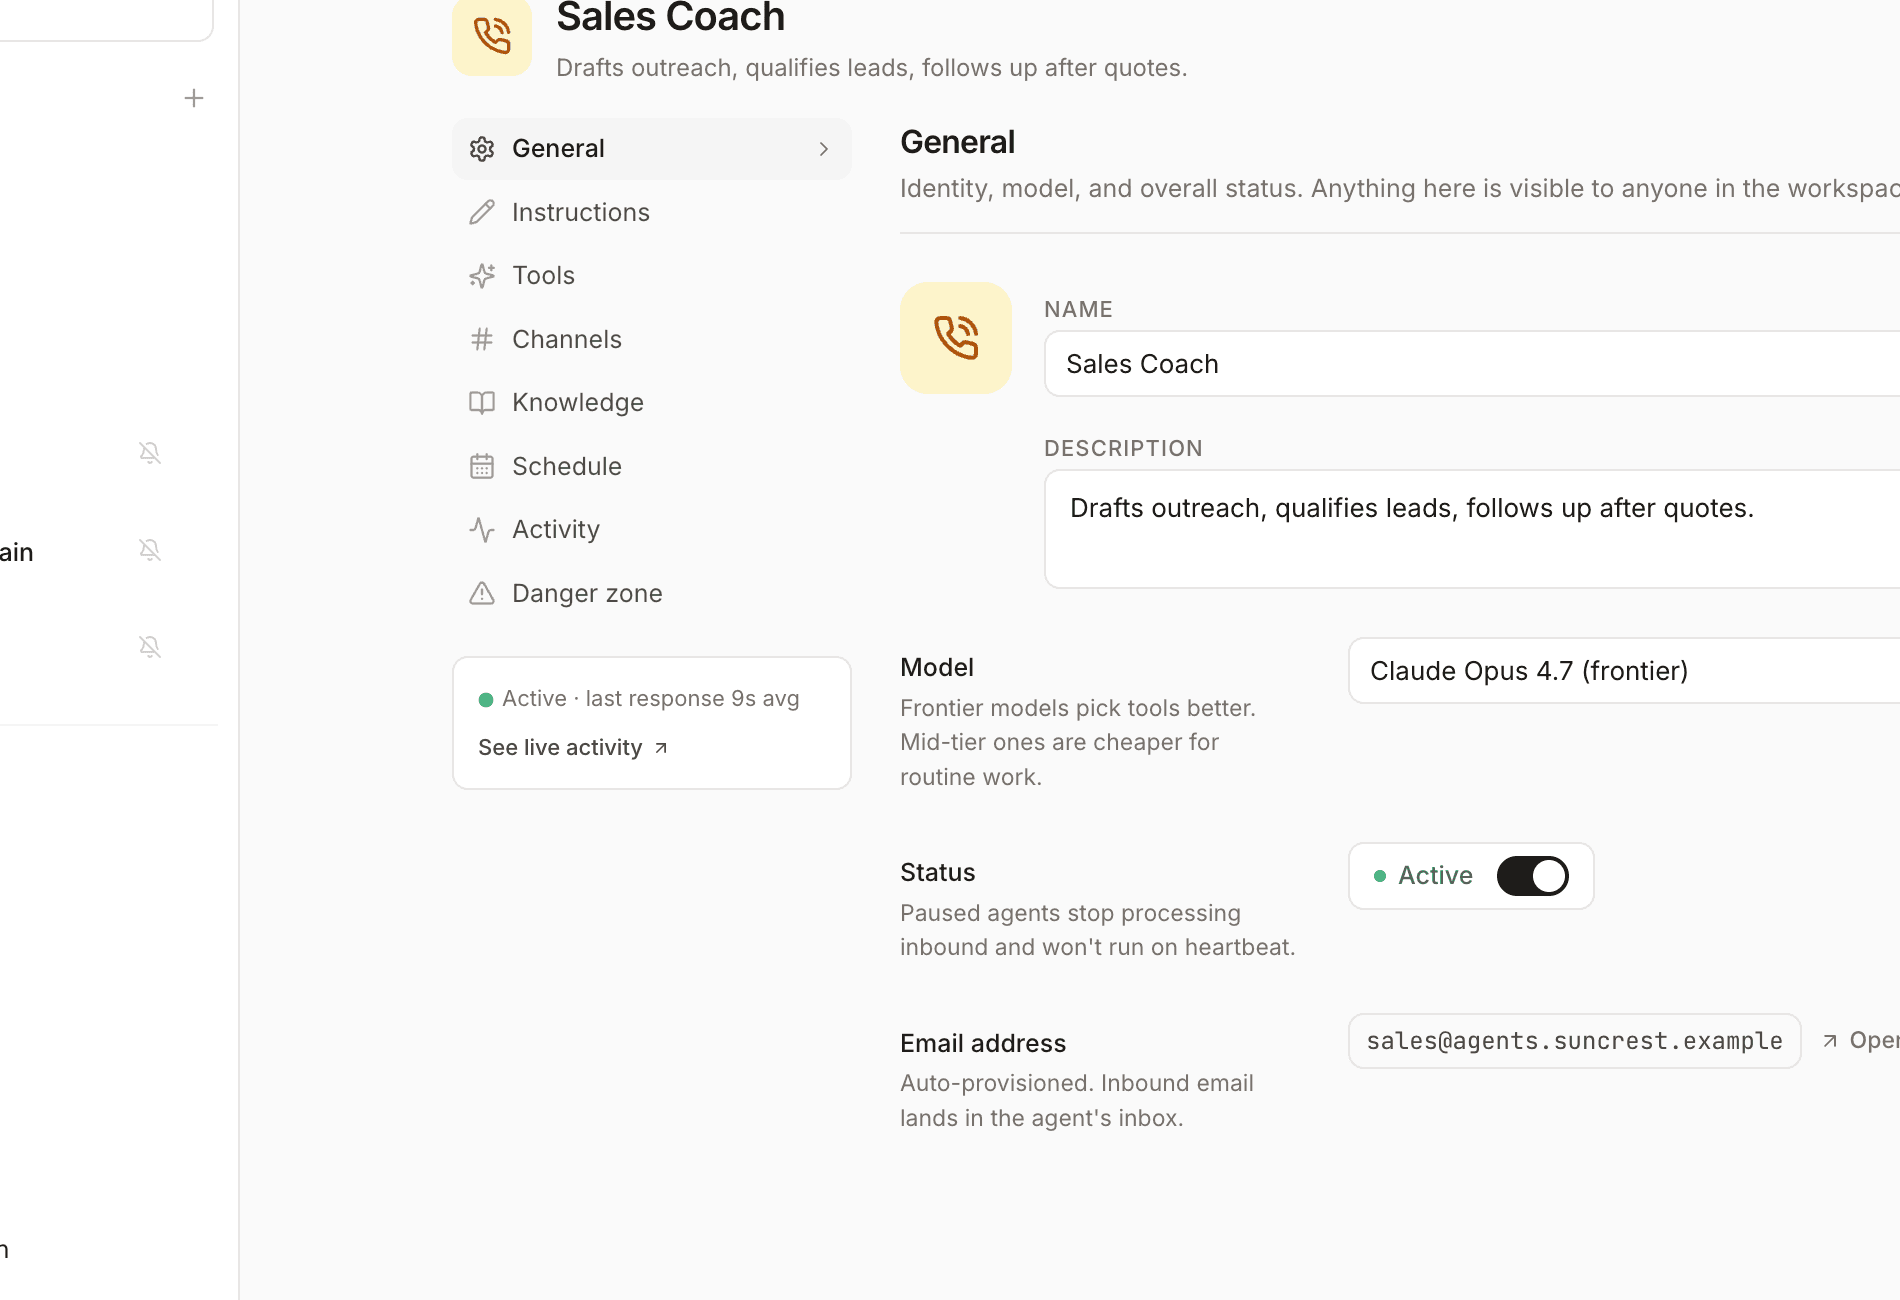
Agent settings tabs
Click an agent to open its settings. A tab sidebar on the left jumps between overview, configuration, channels, tools, and more — the panel on the right shows the fields for the active tab.
What each tab controls
Overview
Config
Channels
Tools
Skills, Threads, Memories
Writing good instructions
Instructions are the agent's job description. Be specific about tone, what data to use, when to ask the user vs act, and what it must never do.
What strong instructions include
Role
Scope
Process
Output style
Example instructions
You help customers check order status and request returns.

Always look up the order in the Orders table before answering.
If the order is older than 30 days, explain the return policy and offer to create a support ticket.
Never delete records — only update status fields the user confirms.
Keep replies under 3 short paragraphs.
One-off threads
From the chat launcher you can start a one-off thread without using a saved agent — pick a model, toggle tool grants, and add optional instructions for that conversation only. Nothing is added to the Agents library; when the thread ends, those settings don't carry over to the next chat.