Building with Threads & Agents
A step-by-step walkthrough of creating a client workspace from scratch — using AI chat threads to shape a portal, configure a worker agent, and get ready for real users.
The scenario
You run a marketing agency and want a workspace where your team can manage clients while customers get a branded portal — plus an agent that handles common questions and creates tasks when someone needs help. By the end, clients can:
- View their active projects and status in the portal
- Access and download deliverables
- Chat with an agent for quick answers and support requests
- View their invoices and payment history
Let's build it
Describe your app
Start at stacker.ai and describe what you want in the prompt box — include both the portal and the agent:
Click Build my app and wait for the AI to scaffold your app. This typically takes 30–60 seconds and creates tables, a starting portal, and an initial agent you can refine in threads.
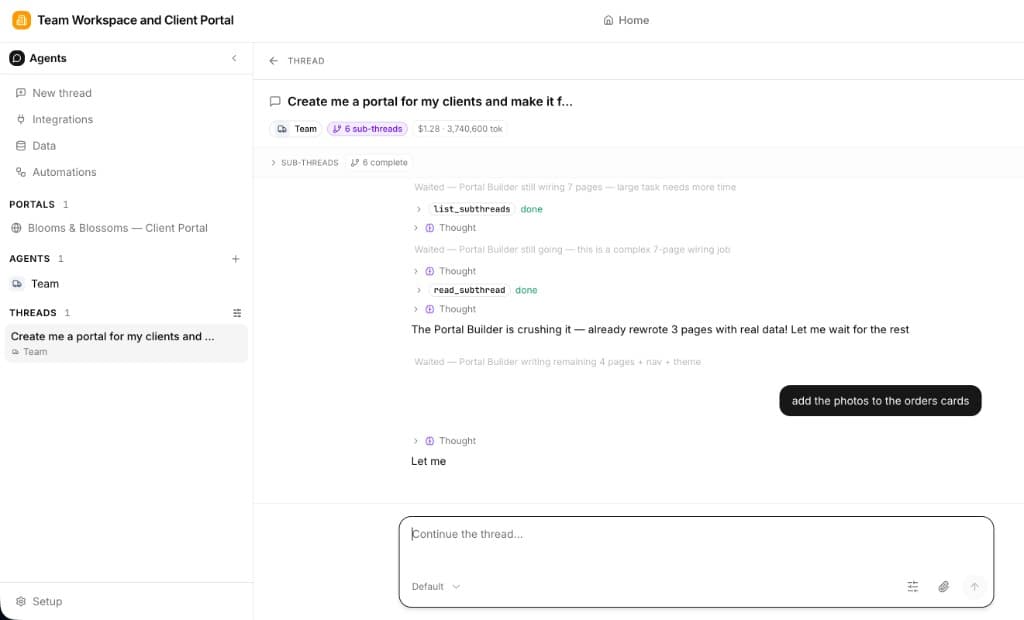
Start your first thread
Open your new app in the workspace. In the left sidebar, click New thread under Threads — or open the Agents tab and start a thread with an existing agent.
Your first message can refine what the AI already built or ask for something new. Example follow-ups:
- "Wire up the client dashboard with real project data."
- "Make the support agent friendlier and ask for a project name before creating a task."
- "Add a deliverables page with download buttons."
Review what the AI created
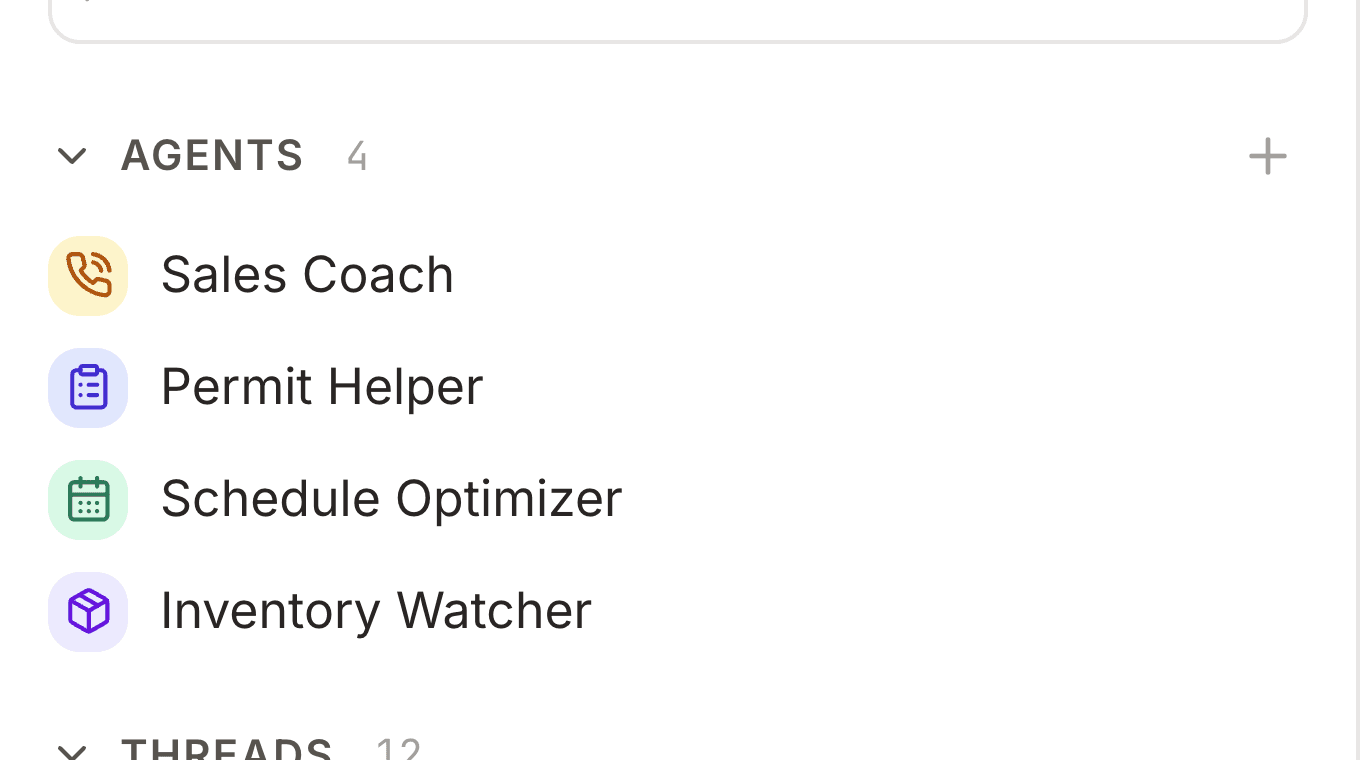
After your first thread (or the initial build), review the structure the AI put in place. For our agency example, you might see:
Under Setup → Data, review tables and add sample rows. Open the Agents tab to see the agent the AI created — you'll tune it in the next steps.
Shape the portal in a builder thread
Switch to the Portals tab and continue (or start) a builder thread. Ask for layout and branding changes in plain language while you watch the live preview:
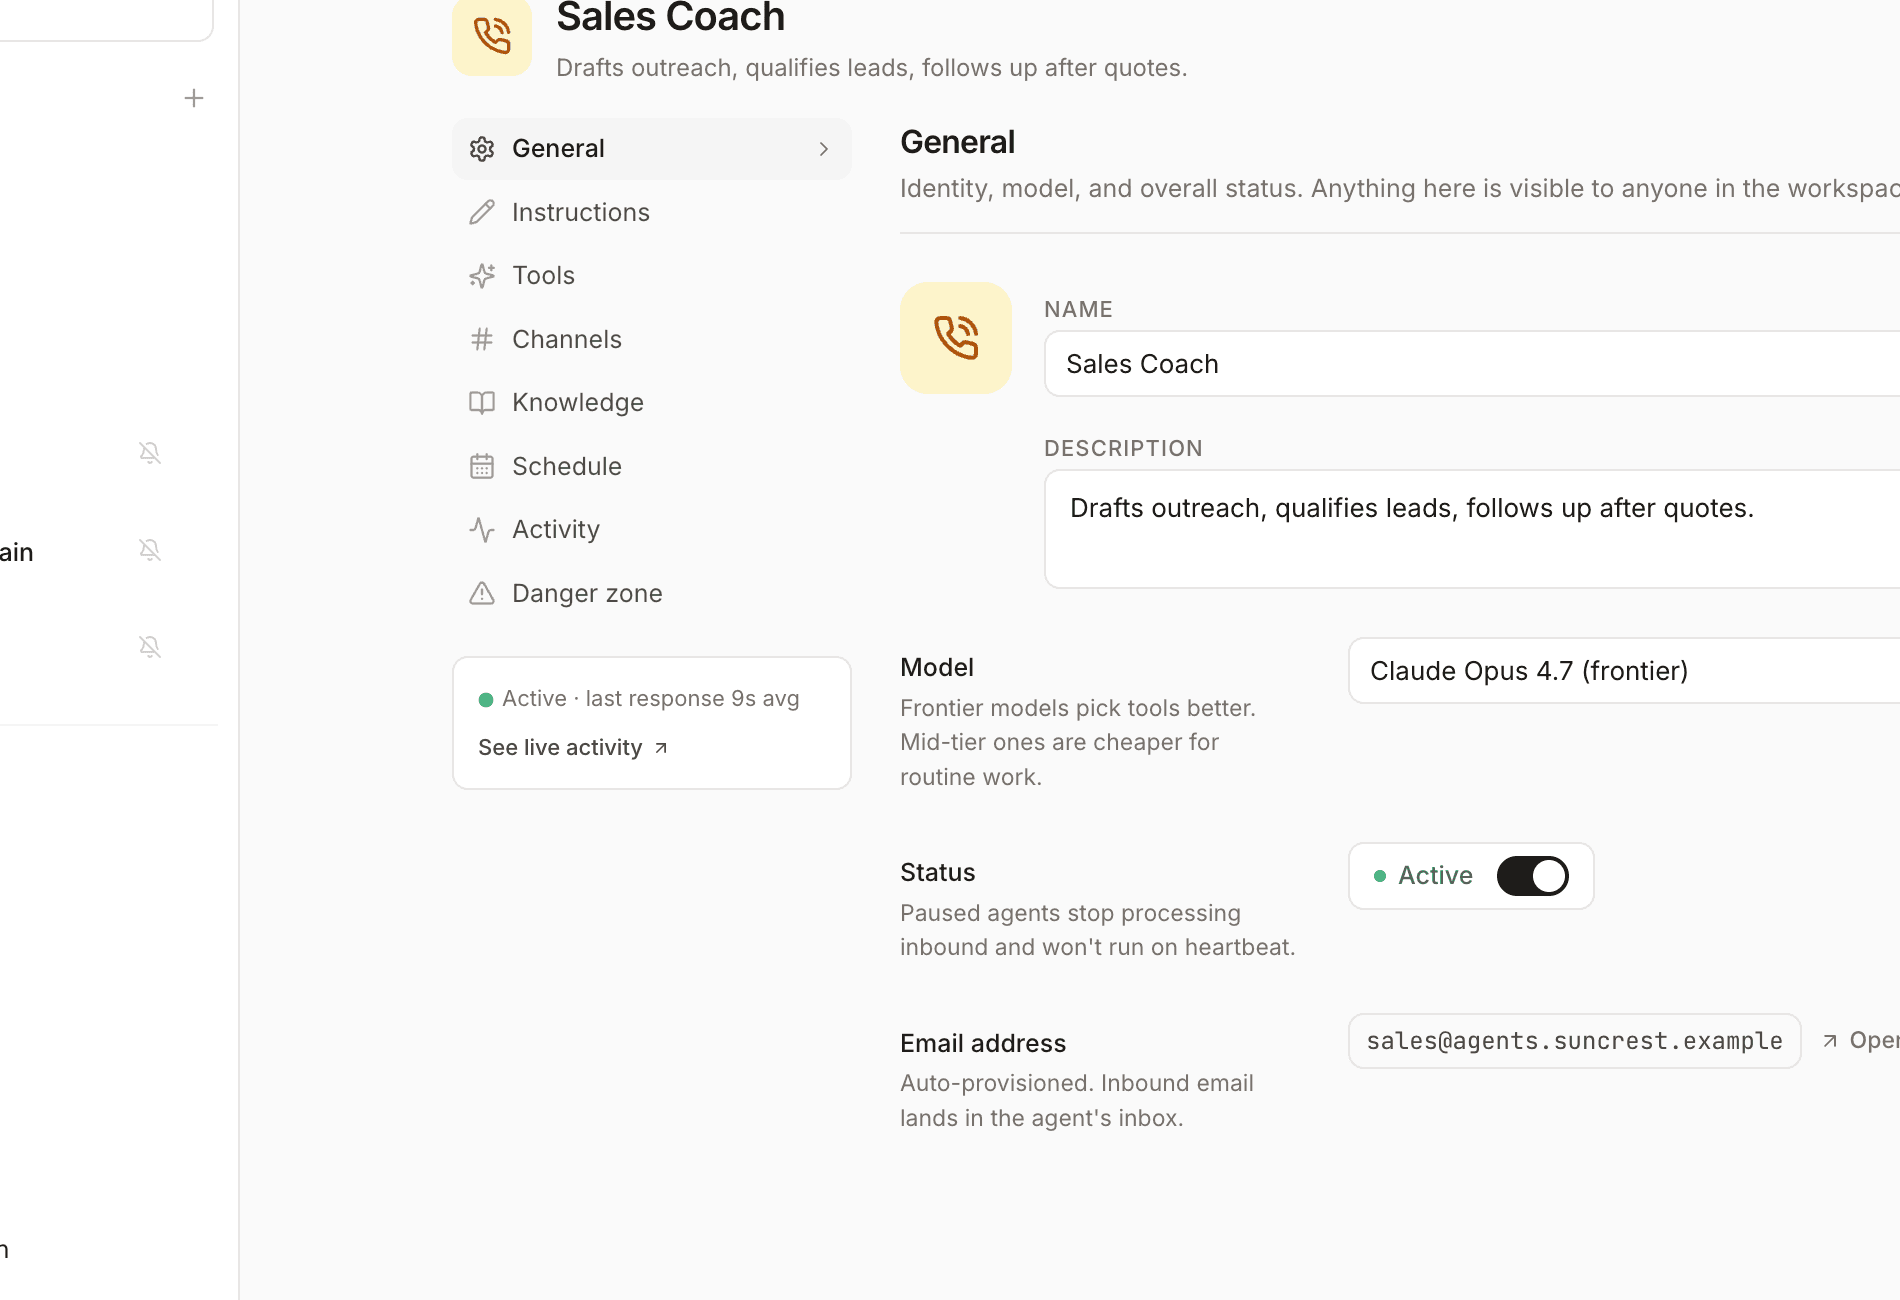
Configure your agent
Open the Agents tab and select your support agent. Refine it in a thread or in the settings panel:
- Instructions — what the agent should do, tone, and when to escalate
- Tools — grant Write records to create tasks, Read records to look up projects, and any integrations it needs
- Channels — keep in-app chat for portal users; add Slack or email later if your team needs them
Test by starting a thread with the agent from the Agents pane. Ask the kinds of questions a client would — the agent should answer or create a task when appropriate.
Set permissions and invite users
Before sharing the portal, lock down data access and add your first portal users:
- Open Portal Settings and go to the Permissions tab
- Under Data Permissions, add per-user filters so each client only sees their own projects, deliverables, and invoices
- Use Preview as to confirm one client never sees another's rows
- In Setup → Data, add a row per client with their email filled in
- Copy the Login URL from the Users tab and share it with clients
Portal users sign in with a magic link, one-time code, or another method you configured. See Managing Users and User login flow for details.
Congratulations!
You've built a client workspace with a branded portal and a support agent — all through AI chat threads. Clients can log in, view their projects, and talk to the agent; your team keeps iterating in new threads as requirements evolve.
Keep building
Now that you have the basics, explore these guides to go deeper: